EASIEST TUTORIAL TO TRANSFER PHOTO TO WOOD
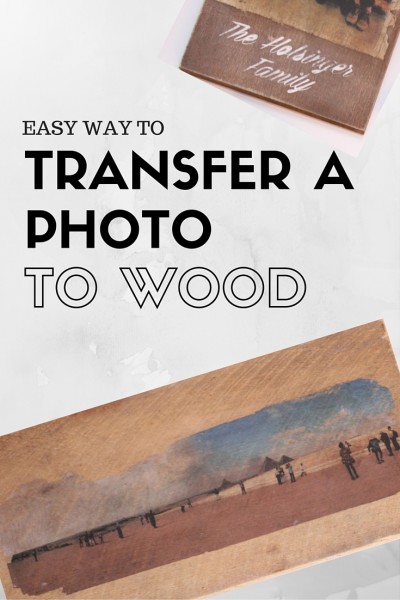
A few weeks ago I posted a photo on Instagram of a photo I had transferred to wood at an A.C. Moore inspired craft day with my friends: Chester County Moms, Finnegan and the Hughes, The Twinery, The Fabulous Fairy, and Beth’s Custom Creations. Beth had decided she had wanted to try to transfer a photo to wood, and I was game to experiment.
Easiest project ever, and it looks so fancy! We read a bunch of tutorials and it got really confusing, so I wanted to break down the project into clear directions than anyone (and I mean anyone!) could follow.
SUPPLIES NEEDED TO TRANSFER PHOTO TO WOOD
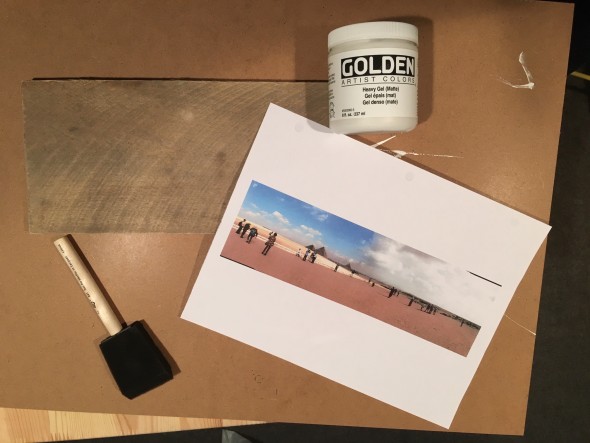
Gel medium
photocopy of photo (not a printer-made photo/copy)
foam brush
rag
piece of wood or pallet
clear wax or antiquing wax
PRINT A PHOTO
Choose a photo. If you care about the directionality of the design, mirror it before you print it on your home computer. If you do not have a printed photo or your printer quality is poor, skip to the next step.
MAKE A PHOTOCOPY OF YOUR PRINTED PHOTO
Bring your photo (or a flash drive with your photo) to a copy center. You can make regular sized prints on the color copier at places like Staples, or you can opt for a larger print using their architect prints (poster size for just a few dollars). This photocopy/architect print will be the one you will use in your project. DO NOT USE ANYTHING YOU PRINT ON YOUR PRINTER, EVEN IF YOU HAVE A PHOTOCOPY OPTION. IT WILL BE VERY FAINT AND YOU WILL NOT BE HAPPY.
APPLY GEL MEDIUM TO PHOTO
Gel medium is found in places like AC Moore in the fine arts section with the gesso and other fancy products. A container may cost you $15, but you can use it for many, many projects. Bring a coupon to cut the costs! I have used mine for 4 projects so far, and the container looks untouched, so a little goes a long way.
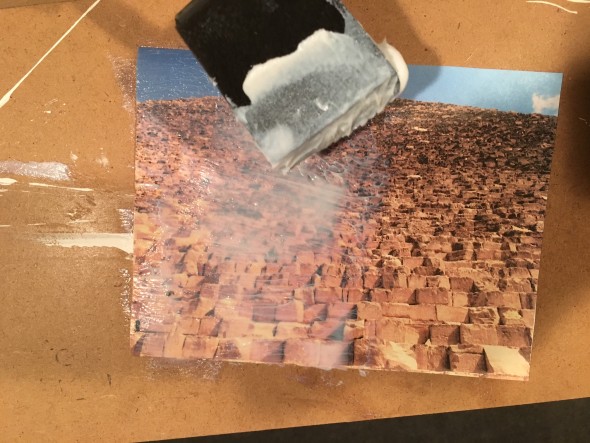
Using your foam brush, apply the gel to the picture side of the photocopy.
APPLY PHOTO TO WOOD FACE DOWN
When you have applied a generous, thin layer, flip the image over face down onto the wood. Once you flip the photo DO NOT REPOSITION IT! If you try to move your photo once you have placed it face down on the wood, you may mess up the transfer. Press the photo down to smooth out any bumps/wrinkles in the paper.
LET DRY
Leave the photo on the wood to dry. I leave the photo an hour or so, though the gel medium I use says only 20 minutes is necessary.
GENTLY RUB OFF PAPER
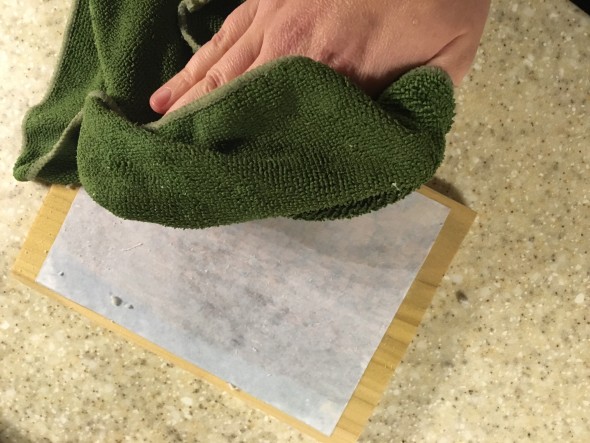
When the paper is dry, use a slightly damp rag and gently rub the top layer off the photo. You should see the photo transferred onto the wood with a very thin layer of the photo print. When you remove the top layer of paper, it will ball up and can be brushed off the photo. I usually do one large removal and then go back and then let it dry and gently rub off the rest of the residue with a wet cloth until a clear photo remains with no white “fuzz” on it.
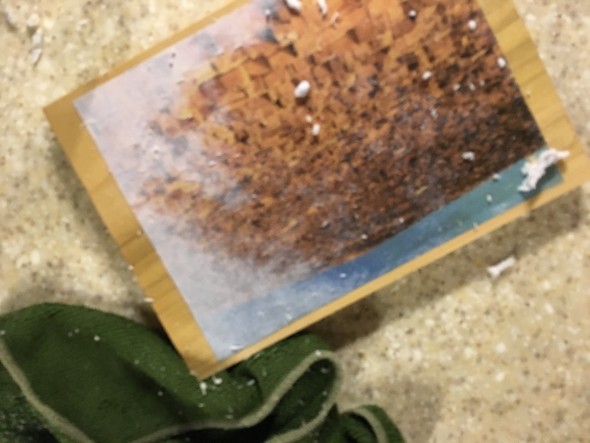
ROUGH IT UP
Use sandpaper to roughen up the edges of the wood and photo.
APPLY WAX OR ANTIQUING WAX (OPTIONAL)
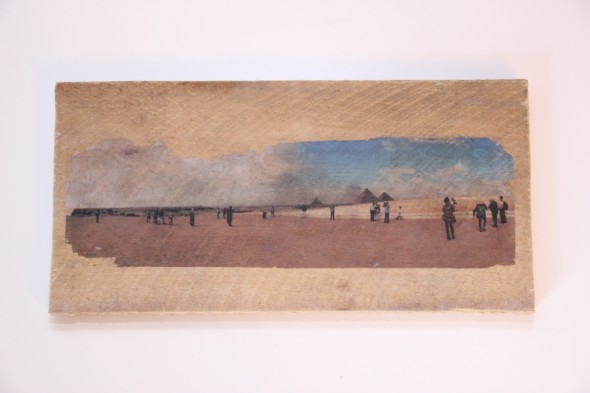
I have made these photo transfers with all types of finishes. I like the clear wax from Folk Art for a slight sheen, and the antiquing wax for a rustic look. However, when working with a perfectly aged piece of pallet wood, my favorite finish is just leaving it as is!


Leave a Reply