DIY BUOY PILLOW {BEACH-THEMED BOYS’ BEDROOM}
My Little Guy will be ready for a big boy room soon, and we are debating whether to keep him in his own room or bunk him with his big brother. Buddy and Little Guy are best friends and would spend every moment together if possible. Since Buddy, our four-year-old, has problems sleeping through the night, we thought his brother might make him feel a bit more secure at night. Likewise, since Little Guy wants to do everything Buddy does, I imagine him creeping through the house to Buddy’s room in the middle of the night, even if we give him his own room. We have room for each boy to have their own space, but we are wondering if (for now) it makes more sense to keep them together.
We know we are going to have a beach-themed room regardless of whether the room is for one or two. I’ve rummaged salvage shops and fishing huts in the Florida Keys for the last year and have found some great items that I can repurpose into adorable accessories for the room.

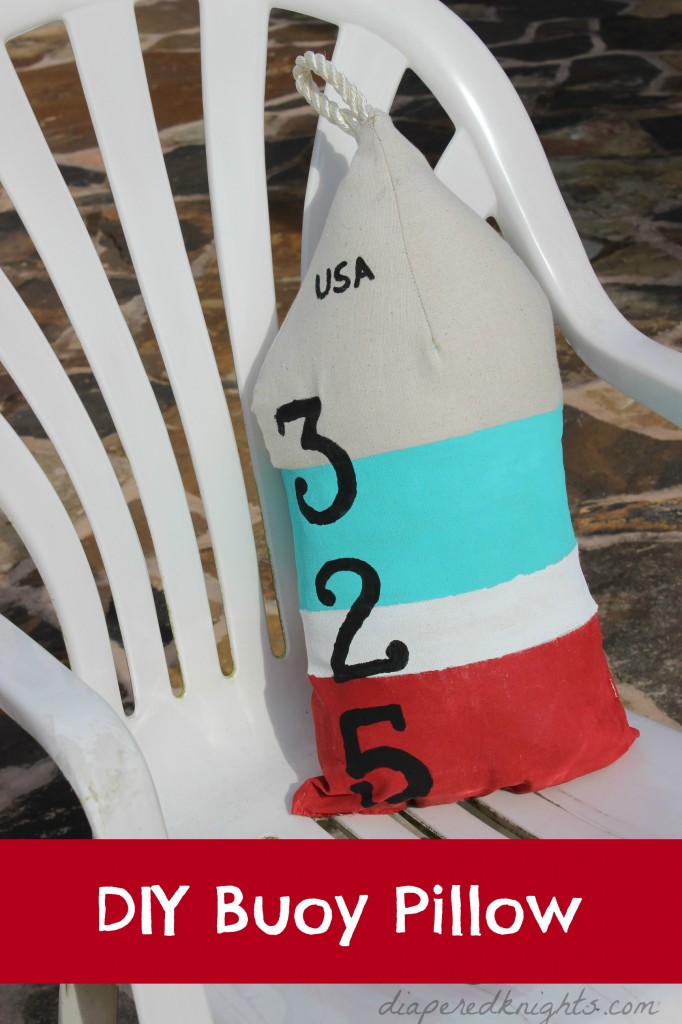
I imagine a cozy, stylish space where the boy (or boys!) will lounge and read, play quietly, and (fingers crossed) nap and sleep. I am fascinated by buoys and knew I needed to have at least one in the room. I had a vision for a soft linen pillow, so I started to experiment with pattern shapes that would give it a 3D shape.
- Sew edges together on “wrong” side, leaving space to turn inside out and stuff with filler. Leave a little space at the point of the buoy, too.
- Turn “right” side out. Slide a piece of cardboard inside so paint does not leak through.
- Mix acrylic paint with fabric paint medium (or just use pre-mixed fabric paint if you can find the right size!)
- Line the pattern with painters’ tape to determine where the stripes will go.
- Paint stripes. Allow to dry.
- Determine what numbers/letters you would like to add to the buoy. I cut my numbers from my Silhouette Cameo onto Contact Paper and stenciled them onto my fabric, but you can also use a printer, freezer paper, and an Xacto knife or draw the numbers freehand.
- I added a freehand USA at the top (mainly to cover a paint fingerprint added by one of my little munchkins).
- Fold a 6-8 inch piece of nautical rope in half and thread it through the hole in the point of the buoy so the loop is sticking out of the fabric. Secure ends of the nautical rope together inside of the buoy with Duck Tape. Hand stitch the top of the buoy, stitching through the rope to secure the rope to the top of the pillow.
- Stuff the pillow with filler and hand stitch the opening on the bottom with thread that is the same color as your bottom stripe.
Note: If I were to do this again, I might consider adding a rectangular piece on the bottom to make the pillow more prism-shaped. However, the pillow without the bottom will display nicely and is probably much more comfortable to lay on!


Leave a Reply